Hannah Overman Koch

Friday, January 31, 2014

Snow Doodles


Recently on Facebook I came across an article about artist Andres Amador and his "Playa paintings" or beach art.  Andres Amador uses a leaf rake to create geometric and organic patterns on various California and Mexico beaches during low tide.

He considers it beach mural exploration and
it's temporary!

I encourage you to check out his website:


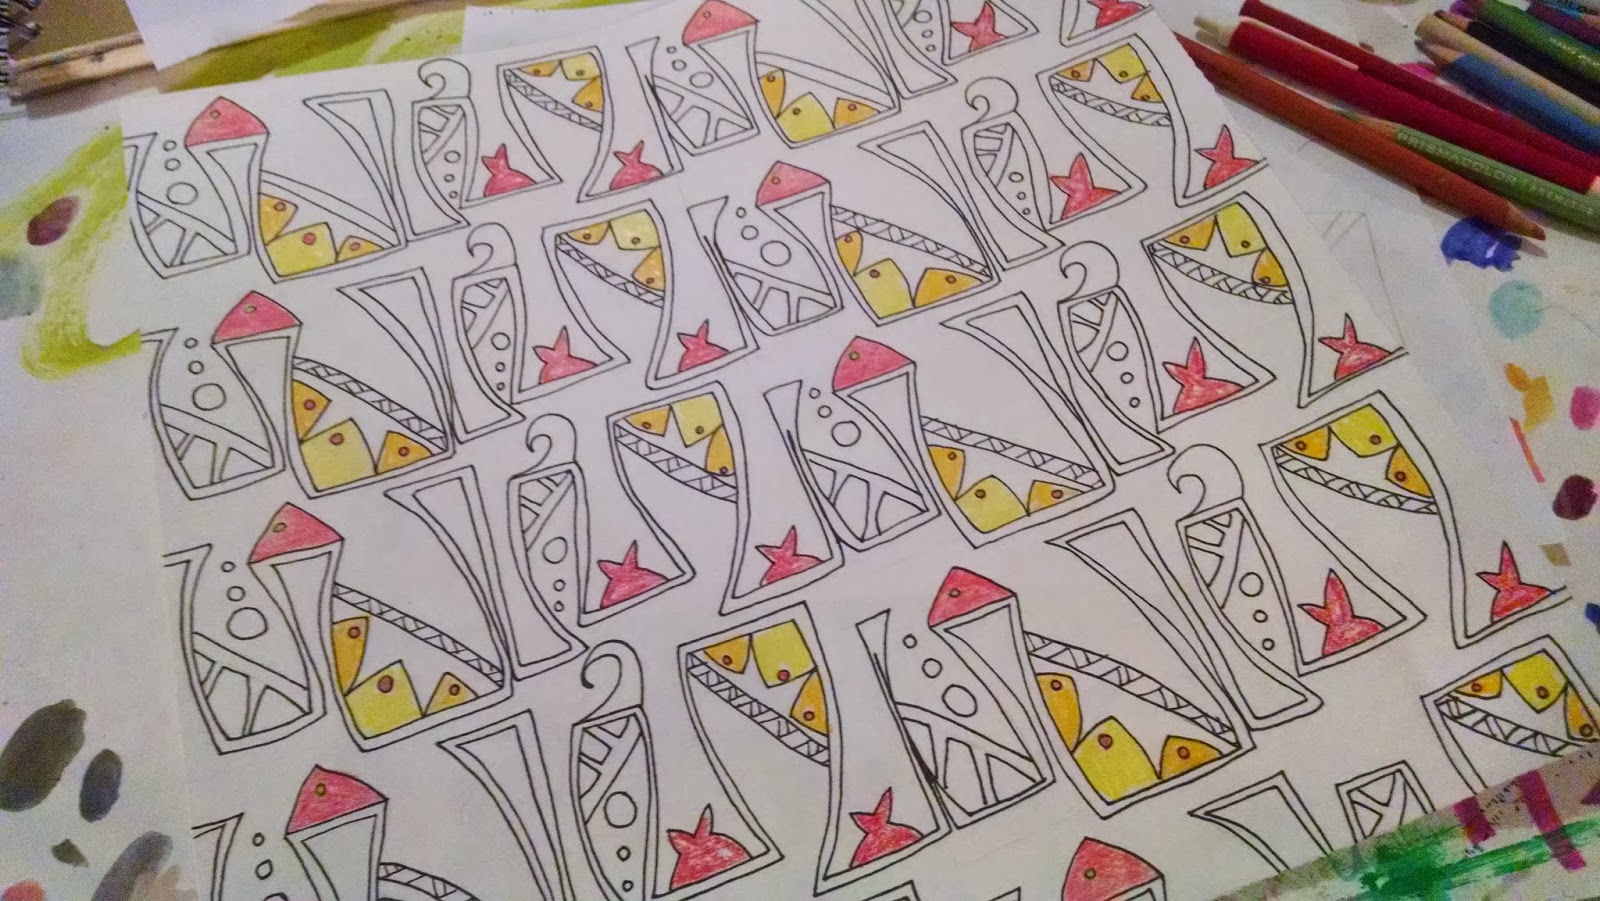
Reading and learning more about his work was inspiring for me.  Of course, doodling and drawing patterns on paper is very familiar to me.  

But reading this article was an my "a-ha" moment.

We can doodle on anything and with anything that accepts the doodling tool!
Patterns appear the same whether or not they are in ink!

Beach and a rake, salt or sugar on a counter...
what about snow and a fork?


This week in North Carolina, where I live, we have been endowed with about 5 inches of snow.  
This is a big deal for us because it happens so little.

After all the snow sledding and family fun, an idea sparked for me...

Drawing in the snow!

 
What a fun and enriching personal experience!


Snow is a wonderful element to draw into and learn to manipulate!


Not only did I draw with both ends of the fork,
I also "stamped" with it too!!


Curves flow nicely to my surprise.


This is a loosely packed snowfall that has melted very little at this point.

I didn't use rulers or anything geometric.

I only had my arms length.

After a day of children running through the front yard

there were pockets of untouched snow perfect for my experimentation.

I focused more on larger patterns.

  
Though it is doodling, it has a different feel.

 
Trying to free yourself of expectations is the same as doodling on paper,


but realizing it is only temporary is freeing altogether!


Pushing myself out of my comfort zone of public displays of art making.


I don't doodle, sketch or draw in public very often and this was a great time to get myself out there! 
Even if just in my neighborhood!


I only spent about 20 minutes outside doodling while keeping kids and a dog out of my claimed space.

And with this small and simple experience, I can appreciate so much more the time and dedication Andres Amador has for his earthscapes.
The beauty he creates with sand is breathtaking.


having some artistic fun and living in the moment of a southern snow day on this artist holiday,
hannah


Monday, January 27, 2014

Silly Bands and PolyShrink


If you are like me then you too live with small, colorful, and very silly rubberbands all around your home!  

~Silly Bands~


However, I may have been the only adult more excited than their children to finally get them in our possession!

But then I got to thinking...

What if we added a few PolyShrink pieces with those bodacious bracelets?


Maybe we could get something like this...

Black Polyshrink, White Paint Pen, Permanent Markers, Rubber Bands

Are you familiar with Polyshrink?

I purchased my sampler pack at Ornamentea in downtown Raleigh.
The manufacturer is a company called Lucky Squirrel out of New Mexico.

Check out those links for more detailed information.

This is my first experience with Polyshrink.
When you purchase it, the sheets are similar to transparencies.

Polyshrink is considered an artist grade plastic according to Lucky Squirrel.
There is clear, translucent, white, and black in the sampler pack.


Thus far I have cut it into shapes, hole punched and drew with permanent markers atop the surface.
And...
Pulled in my printmaking blocks!!  Polyshrink is able to take oil-based printmaking ink!

I printed my block first, allowed to dry, then cut around the shape and added a hole at the top.
I used permanent markers to add some color.

My 2 daughters (10 and 5 years old) were interested in creating a name plate for a potential silly band bracelet.

Roz's nameplate, hole punched and ready for the next step!

Lucy's name plate, holepunched and ready, as well!

I encouraged the girls to write their names fairly large on the nameplate to account for the skrinkage.

Now our pieces are ready for the oven!

Yes - the oven!!

Please follow manufacturer's instructions during this step.

It is so simple and fun to watch it shrinking.

Our results..


This turned out pretty well with the image still fairly clear.  
One reason may be that it is not as small as it could be.
I took it out a little early.

On the other hand, this image has a bubbled surface and unclear image.
I look forward to experimenting more with my print blocks and this cool material!


Here are some pieces sitting atop parchment paper cooling.

Please note the new height of these pieces.


To create the bracelet start by inserting one rubber band into each hole and add more rubber bands until you get the desired bracelet length and close off as you would a regular silly band bracelet.


We each chose our colors for the bracelets to go with our polyshrink pieces.


No loom needed to for this project!


It estimates to shrink approximately 45% of it's original size.
Think about this when you are making  a piece for you or your child's wrist.

Don't go buy a fancy hole puncher - use the standard one you already have!
It makes the perfect hole size when it shrinks.


I love how sturdy this material feels when it has been through the heating process.

You gotta try this...


They totally agree!


having fun with my Kochettes and our creative mash-up session on this artist holiday,
hannah


Friday, January 24, 2014

Studio Exploration: Tessellations


Tessellations 

I am working in my studio on tessellations.
This exploration is a project for my art education class at East Carolina University;
Art 3851 with Dr. Quinn
Spring 2014

Dr. Quinn provided the tessellation lesson plan and I get the pleasure of exploring this creative problem!

What will be my aesthetic solution?

Materials:
3x3 inch squares -card stock paper
12x12 inch paper
colored pencils
scissors
tape
pencil

Here are 3 types of tessellations I worked through-

Translation

I drew one continuous line on the card stock paper.

Cut the paper on the drawn line.
(Sharp points are challenging to cut!)

Then slide the cut section and tape it together.

Trace the shape onto the 12x12 inch paper.


Rotation

I drew one continuous line on the card stock paper.

Cut the paper on the drawn line and rotate the cut section 180 degrees.
Tape the 2 pieces together.

Trace the shapes onto the 12x12 inch paper.


Glide Reflection

I drew one continuous line on the card stock paper.

Cut the paper on the drawn line.

Then slide the cut section and flip it 180 degrees.

Trace the shape onto the 12x12 inch paper.


Then I had to make the decision which one to choose....


I decided to do the glide reflection to continue the exploration!

I began filling the paper with smaller shapes and designs.
I was required to add geometric and biomorphic shapes.


With each line I drew, I tried to continue the pattern throughout the paper.

Once all my shapes were added in pencil, I drew over them with a black pen.

The completed 12x12 inch paper with black outline.

I erased the pencil marks to clean it up.


Now it is time to add some color!

Using colored pencils.

Any ideas on my biomorphic shapes?


Detail of Glide Reflection


Fish in Boats
Finished Tessellation

This exploration was fun and challenging to think in terms of line transformation.  
I found that what I thought it would look like, really didn't look like that at all!


Check this link for more information on tessellations:


M.C.Escher's work with tessellations is inspiring and a great website resource:


exploring my creativity and doing homework (that I love) at the same time on this artist holiday,
hannah